Introduction
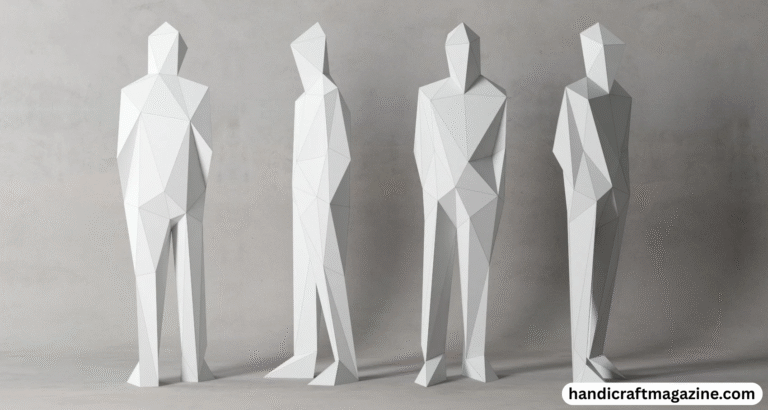
Creating a papercraft man combines nostalgia, creativity, and hands-on fun. With just paper, glue, and a little patience, you can build a personalized paper figure that doubles as art, decoration, or a thoughtful gift.
In this guide, you’ll learn how to design and assemble your own papercraft man—from choosing materials to customizing details. You’ll discover tips that fit both beginners and experienced crafters, making the process enjoyable and rewarding.
What Is a Papercraft Man?
A Craft That Bridges Art & Fun
Papercraft models—like a papercraft man—are built from heavy paper or cardstock. You cut, fold, score, and glue pieces together to create three-dimensional characters.
Versatile for All Skill Levels
Whether you’re a beginner or seasoned hobbyist, designing a papercraft man lets you customize every detail: hair styles, clothing, pose—even accessories like hats or tools.
Materials & Tools You’ll Need
Paper & Cardstock
Use 120–200 gsm cardstock for sturdiness. Colored or decorative paper adds flair. Heavier cardstock holds shape better but needs sharp tools.
Cutting & Folding Tools
A craft knife with fresh blades or sturdy scissors is essential. A ruler and bone folder help make precise, clean folds .
Adhesives & Finishing Tools
White PVA glue is ideal for cardstock. For strong joins, consider a glue stick or double-sided tape. Optional: clear sealant, tweezers for small pieces.
Step-by-Step: Make Your Own Papercraft Man
1. Design or Download Templates
- Beginners can use free templates from sites like Cubeecraft or Prefabric sites.
- Advanced: Design your own using Pepakura Designer or Blender with a “Paper Model” plugin.
2. Print & Prepare the Template
Print onto cardstock. Align well to avoid misprints. Score fold lines gently—don’t cut through.
3. Cut with Precision
Follow printed outlines closely. Take breaks to refresh blades—clean cuts avoid tearing .
4. Fold Carefully
Use a ruler or bone folder to form crisp edges. Mountain folds (peaks) and valley folds (troughs) shape the structure.
5. Glue and Assemble
Work section by section, gluing tabs and holding pieces until bond sets. Start with the torso, then add limbs, head, and fine details.
Customize Your Papercraft Man
Clothing & Color Variations
Swap outfit patterns or add painted details using markers or printed textures. Go from casual to superhero—whatever inspires you.
Reddit user imjerry offers this tip:
“I mostly use Inkscape… I started also using Blender to do my redecos… so I use it for that too.”
Use Blender and Inkscape to digitally recolor or add patterns before printing.
Facial Features & Expressions
Draw or print custom faces, then cut and glue. Small pieces like glasses, mustaches, and hair shapes personalize the figure.
Props & Poses
Give your figure accessories—paper guitar, coffee cup, or tools—or poseable limbs using split tabs or jointed designs.
Tips from the Papercraft Community
The papercrafting community shares valuable advice for beginners:
- Start with smaller models before tackling a full figure
- Use premium cardstock in 65–110 lb. range for durability.
- Inspect print alignment and blade sharpness before every session
Community-built designs by Kami box have won awards and provide inspiring free templates.
Where to Show Off Your Papercraft Man
Place your finished papercraft man as:
- A unique desk companion
- A handmade gift centerpiece
- Shelf or bookend décor
- Part of multi-figure displays or dioramas
Try out creative display ideas that fit your style and space.
Conclusion
A papercraft man is more than a paper toy—it’s a creative expression. By choosing the right materials, using precise techniques, and adding personal touches, you can craft a figure that truly reflects your personality.
Ready to begin? Grab cardstock, choose or design a template, and start folding. You’ll be amazed at how a simple sheet of paper comes to life in your hands. Share your creations with our community at Handicraft Magazine—we can’t wait to see your paper people take shape!
